

**Update APRIL 2, 2020**
We’ve added a new resources page with some templates to get the creative juices flowing. See those on our site here: https://www.lifethreadsalbums.com/resources-tools/#downloadslinks Continue on for the how-to….
Make it Special
A custom laser engraving on your album cover is an amazing way to take your albums up a notch. Adding this unique personal touch to every album brings a level of care and connection to every project. How much more impact and value will a cover with a couples names and dates arranged artistically have than a plain cover? It’s also a great way to tell which side is the front…:)
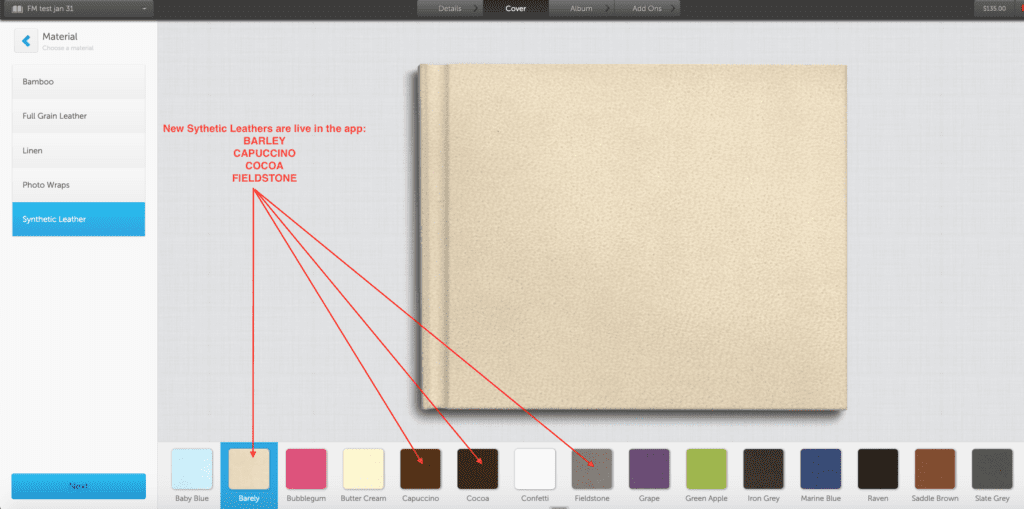
We have 3 cover choices that look awesome with engraving: Full Grain Leathers, Bamboo & Synthetic Leathers. (If you choose a Linen or Book Cloth cover, you cannot engrave them, but you can add a plaque and upload your custom art* to the plaque.)
*If choosing a plaque, please pay attention to the size of the plaque when creating your engraving file
Open up the Possibilities
Another benefit to custom laser engraving is that it frees your creativity. And you are a creative right? Want to have vertical text? Done. Include a line art? Done. Your couple have a cool monogram that would look awesome on the cover? Done!
There are a few important details in how to set up and then add a custom laser engraving to your next project. We’ve got a list of the details below and then some step-by-step instructions below that for you.
Important Details
Here are the need to knows for this:
- files must be created in the dimensions you want and at a resolution of 600dpi
- laser engraving files must be saved as black on transparent background PNG files
- black areas will be engraved (colour files are not acceptable for engraving)
- don’t make lines too thin – they need to show up against the materials
- the darker the cover material the less contrast there is between the engraving and the cover – keep this in mind when choosing a font – thin fonts tend not to look great on dark materials
How to Do It:
- Set UP the file in Photoshop (or a similar program that will allow you to save a PNG with a transparent background)
- Create your design. Remember black will engrave, background must be transparent.
- Save your file as a PNG that preserves transparency (studio must see the “.png” extension on your file or it will not allow it to upload
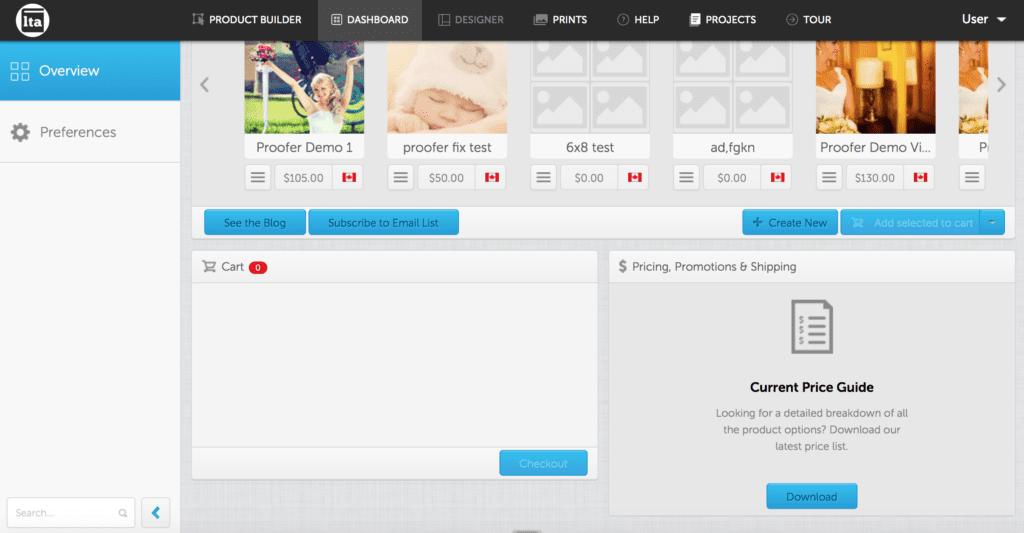
- Add ENGRAVING to your album cover in the PRODUCT BUILDER of lifethreads studio. Make sure to click on the Upload File button in order to add your design to the cover. You are limited to either bottom right or centre placements for your engraving in the app. Have an idea for a cool engraving placement? Contact us to see if we can make it work.


Unleash your creative juices and get busy!
About The Author: Lifethreads albums
More posts by lifethreads albums