

 Hey! You’re success is our success. On that theme, we’re going to take the next few blogs to focus on helping you design and sell albums effectively.
Five Foundational Tips for Designing Albums that Sell
In this article, we focus on key album design principles. Well designed albums are one of the best showcases of your work, not just for the bride & groom, but to all their friends and family. Put your best foot forward by designing the best albums you can. Below is a guest post from professional album designer Emily Sutin. Her contact info is available at the end of the article.
Cheers! Russ | lifethreads albums
You Pick the Pictures
1. Offer an option to select photos for your clients’ albums: After photographing so many weddings, you know what are the important, must-have shots to include. Often times even when clients have pre-paid for their album as part of the photography package, they may feel overwhelmed, narrowing down often 1000+ photos to only 75-100. It can get pushed back to an inconvenient, stressful time for you to design it, such as everyone wanting their album around the holidays. Giving clients a starting point will make it easier for them to swap some out for their favorites.
Watch Where You Put Black & White and Colour Images
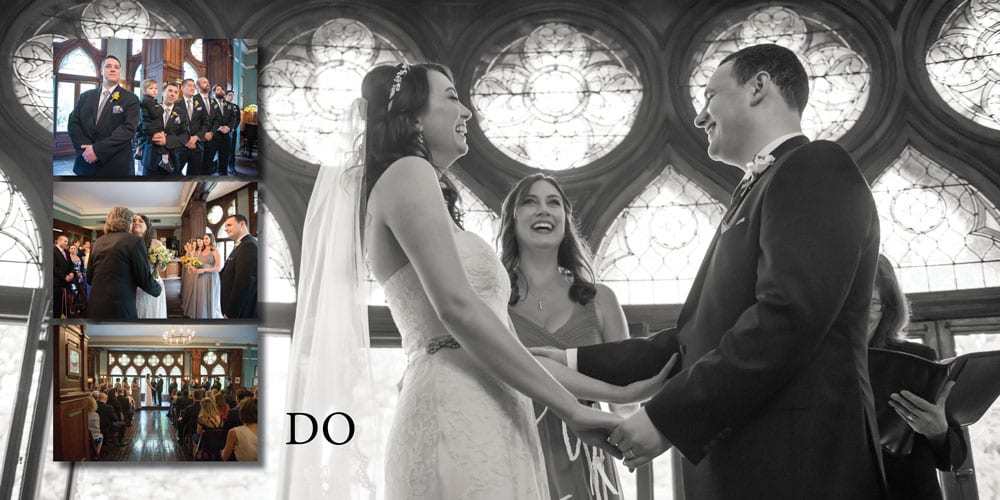
2. Be purposeful in mixing black and white and color photos. Black and white photographs are very elegant; color photos are vibrant and eye-catching. However, having one black and white photo in a group of color photos, or vice versa, can stick out.

Instead, try a full bleed B&W photo on one side of a spread with a cluster of color photos on the other side, or a color background photo with B&W shots layered on top.
Wow Them Once in a While
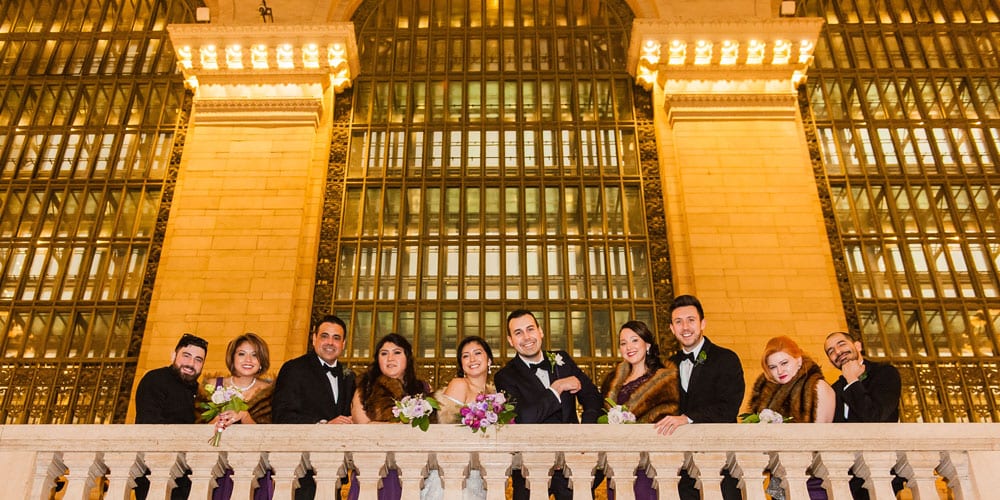
3. Include at least one full bleed panoramic shot taking up the entire spread. Whether it’s the bridal party portrait or an aerial shot of the ceremony, it creates a wow factor in an album like no other. Be mindful to not put anyone’s face in the midline, especially if there’s a separation in the gutter.
Watch Photo Orientation (tip: your program won’t do it for you)
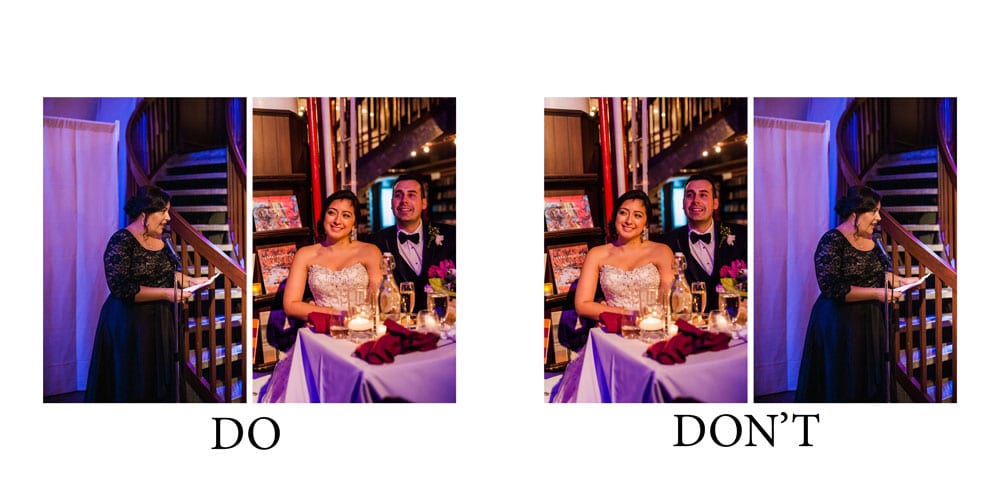
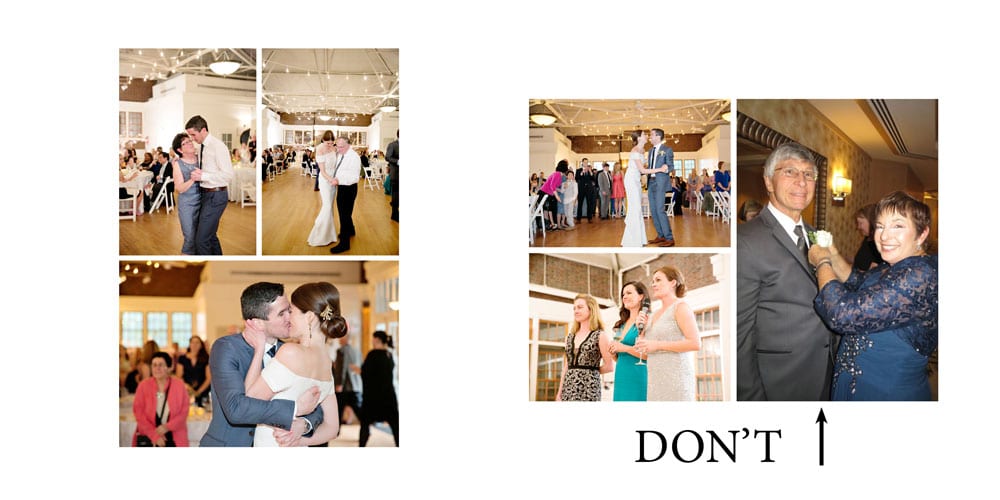
4. Don’t rely soley on “plop and drop” programs. Many album design software programs make it quick and easy – you plop the photos in, and it drops them on each spread for you. However, without checking over and careful thought, it can lead to awkward cropping, or photos that should be facing one another, but are not. For example, photos should be placed so it shows the groom looking in the direction of the bride when she is walking down the aisle, happy couple looking in the direction of those toasting them, etc.
Stick With Your Pics
5. Discourage clients from adding in non-professional photos to the album. There’s always a fun cell phone pic that a client asks if he/she can include in the album. While cell phone cameras can take great photos, many people still have it set to a lower resolution which can create pixellation when printing. The lighting, coloring, and overall style of the photos will also not match yours, leading it to sticking out in the design (see below for an example). If clients insist, make them aware that you aren’t responsible for the print quality of those photos.
-Emily Sutin, wedding album designer, www.designer-emily.com, emily@designer-emily.com; Photographs provided courtesy of Stylish & Hip Weddings


About The Author: Lifethreads albums
More posts by lifethreads albums